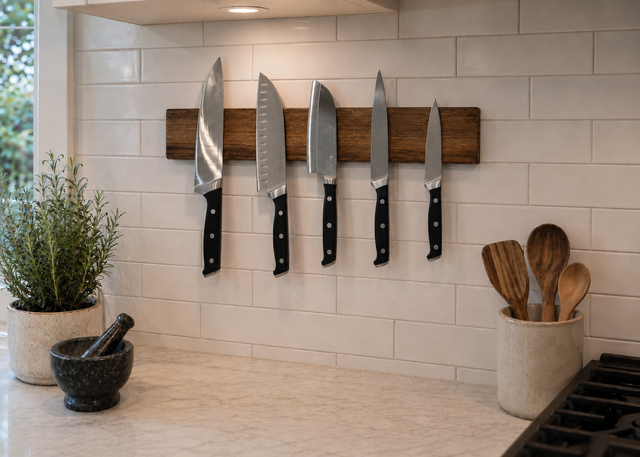
Every piece in the shop starts the same way: a rough plank leaning against the wall, still wearing the saw marks from the mill. This is the story of one of them — a 6-foot length of black walnut that became a wall-mounted knife holder for a customer in New York.
Selecting the board
Not every plank gets pulled. I’m looking for grain that runs straight enough to be stable, but with enough character figure, a sapwood streak, a knot in the right place — to make the finished piece feel inevitable rather than generic. This board had a long ribbon of lighter sapwood running down one edge. That became the front face.
Milling and resting
The rough board goes through the jointer to get one flat face, then the planer to get a parallel second face. Then it sits. Wood moves when you cut it open internal tension releases, moisture redistributes and rushing this step is how you end up with a finished piece that warps a month after it ships.
Hiding The Magnets
After ensuring stability of the wood, each knife holder starts by carefully cutting away the front face of the wood, preserving it for later. The interior is then precisely routed to create perfectly sized channels where powerful rare earth neodymium magnets are inlayed. Once the adhesive has cured, the original wood face is meticulously glued back on, providing that hidden strength in each knife holder.
Finishing
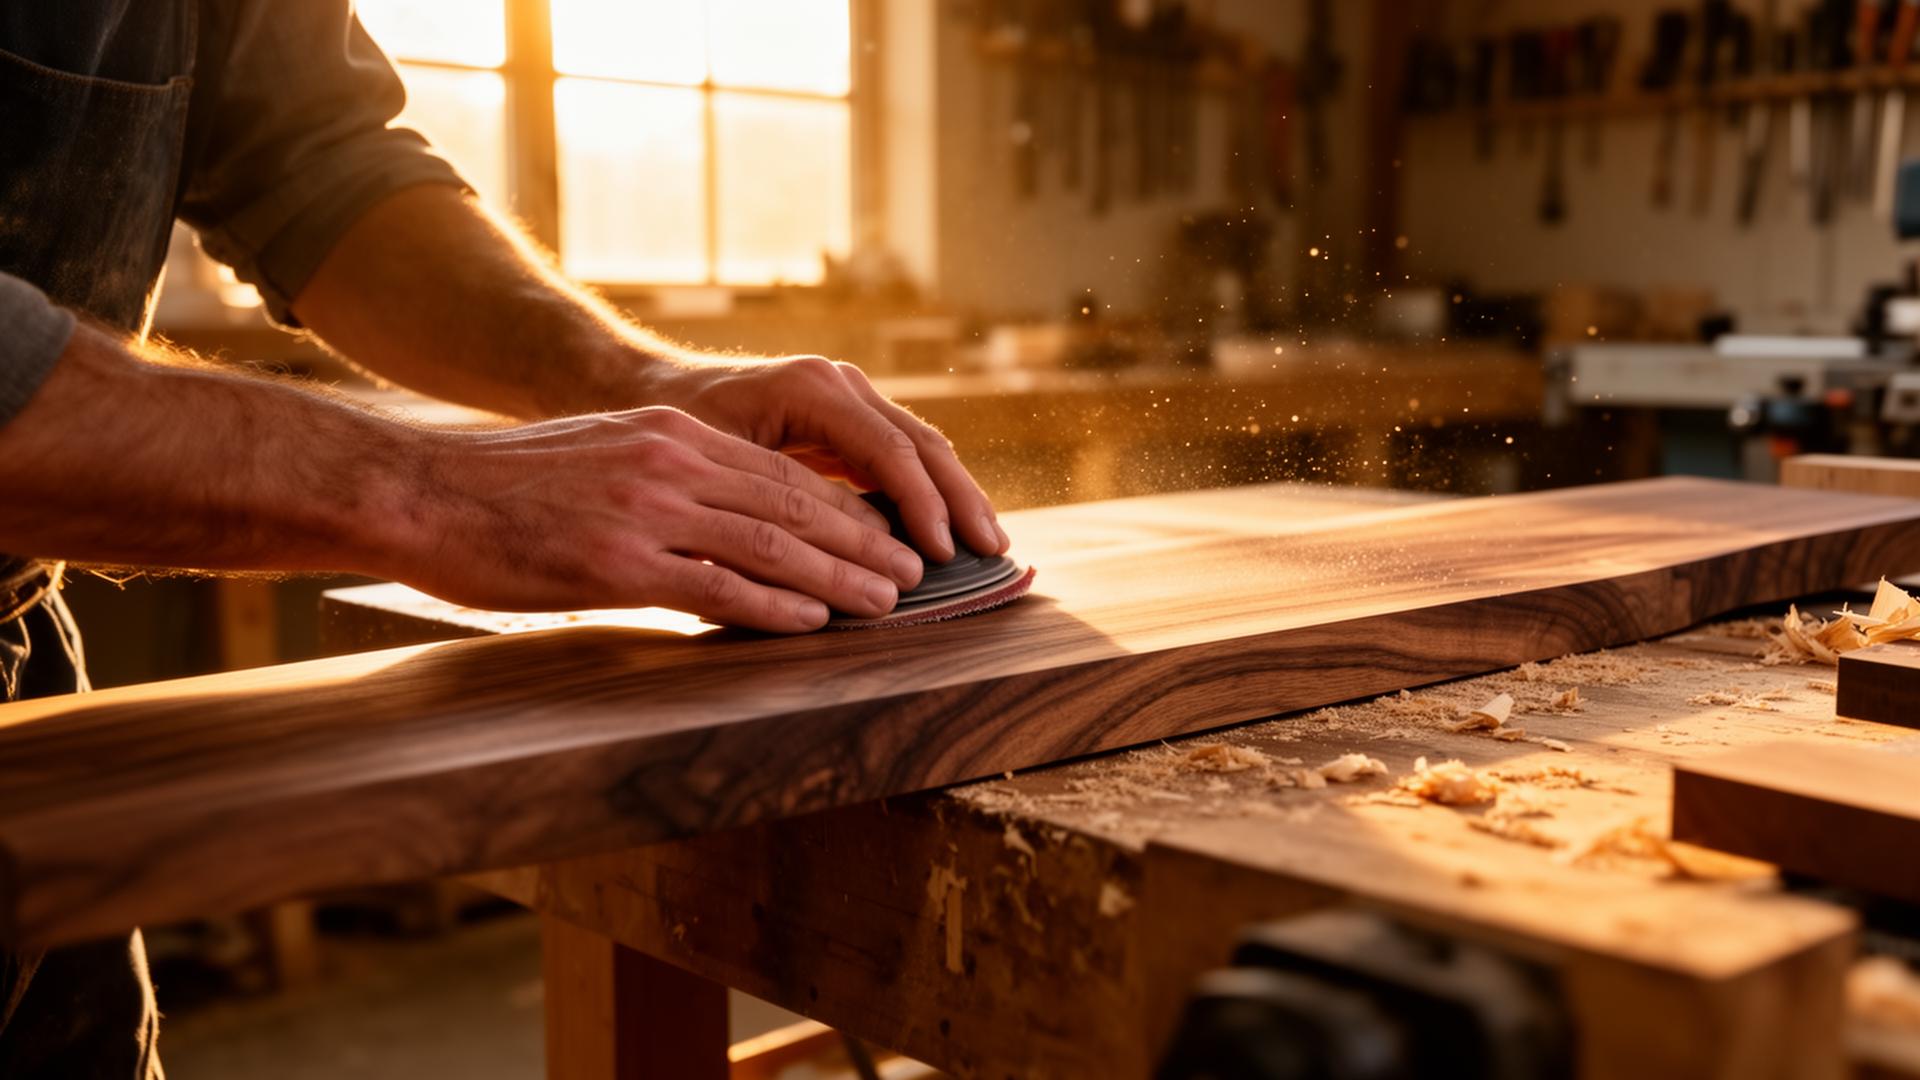
Sanding from 80 to 220, then a wipe with a damp cloth to raise the grain, then one more pass at 320. Finish is a food safe cured polyurethane or oil. Several thin coats, buffed between each one. The first coat soaks in and pops the grain; by the third, the surface has a soft, low sheen that feels like skin.
Shipping
Wrapped in kraft paper, boxed, and out the door. The whole process from pulling the plank to taping the box took about ten days. Most of that was waiting on the wood.